High availability, self-healing, load balancing, automated deployment… These are just some of the terms that come to mind when we think of Kubernetes. So what is Kubernetes? According to their website, “Kubernetes is a portable, extensible, open-source platform for managing containerized workloads and services, that facilitates both declarative configuration and automation. It has a large, rapidly growing ecosystem. Kubernetes services, support, and tools are widely available.” Source: kubernetes.io
That’s a mouthful, but long story short, Kubernetes is a platform for automating deployment and managing containers. This isn’t a lesson on Kubernetes (K8s), but rather how I created a K8s cluster using 3 Raspberry Pi’s. If you’re not familiar with Kubernetes, I recommend visiting their website, kubernetes.io, and learning the fundamentals first.
Why a Kubernetes cluster on Raspberry Pi?
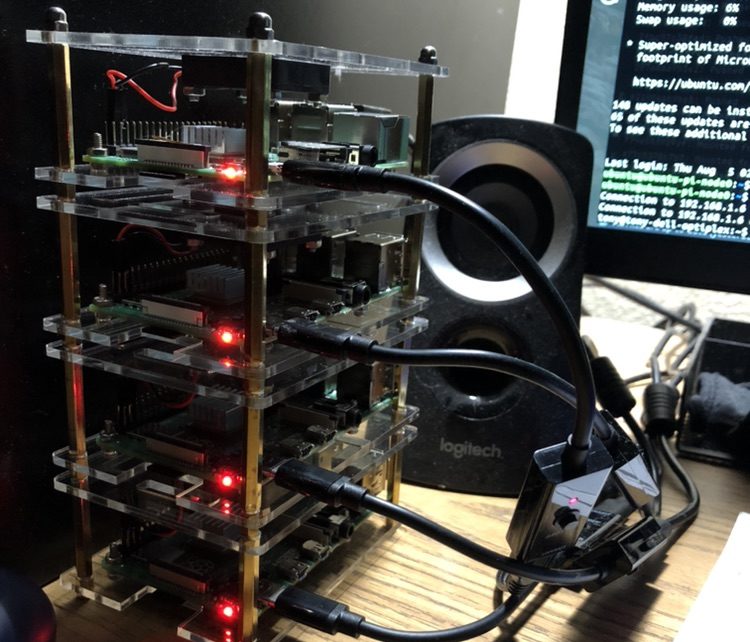
I’m not a stranger to containerization. I’ve used Docker for quite awhile now, but K8s was new to me less than a month ago. I had heard a lot about it, and it was on my list of things to learn, but I hadn’t really dug into it until I interviewed for a job recently. I was required to know EKS (Amazon’s Elastic Kubernetes Service), so I spent a weekend trying to learn it using my Amazon account. I soon realized that an EKS service costs quite a bit of money, and that I would be better off installing it locally on my own computer. Oh, but then I wouldn’t be able to set up a cluster. That’s when the idea come to me to use Raspberry Pi’s to set up a K8s cluster!
I’ll be honest, I really had no idea where to even begin, so Google to the rescue! I found this article (https://ubuntu.com/tutorials/how-to-kubernetes-cluster-on-raspberry-pi#1-overview) that does a great step-by-step tutorial on setting up K8s on Raspberry Pi’s. So we’ll be using the Microk8s version, which is basically a version without all of the components of a normal install, but with extra features available by enabling add-ons.
Setting up each Pi
Once I got all my Pi’s set up running Ubuntu server, I changed the host name of each Pi to ubuntu-pi-node0, ubuntu-pi-node1,and ubuntu-pi-node2,and then installed microk8s on each one. I also enabled the following addons:
- dashboard
- dns
- ingress
- metallb
Adding Nodes
Since I have a 3 node cluster, high availability is automatically enabled. I chose ubuntu-pi-node0 as my master node, and the other two nodes as worker nodes. Adding nodes to the cluster is a simple command called microk8s add-node.

Copy the join command and run it in the node you want to add to the cluster.


Node 2 successfully joined
I also configured kubectl on my development computer to access the cluster remotely, so now I can run kubectl get nodes

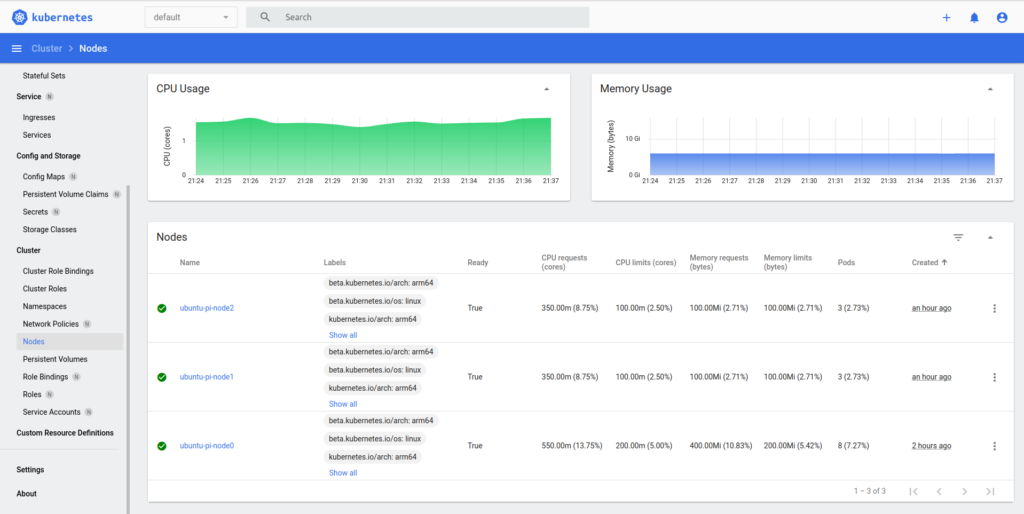
Enabling the Dashboard
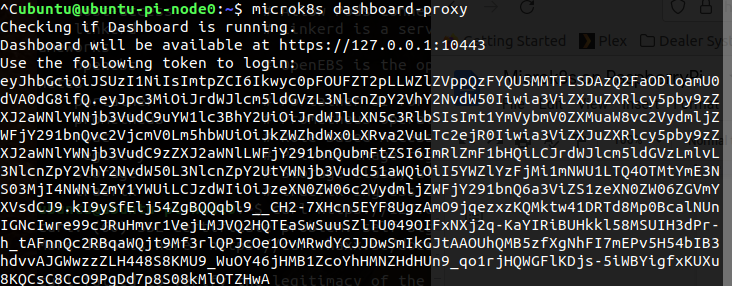
The dashboard service allows a visual representation of pods, services, deployments, etc. There are a few different ways to access the dashboard UI, but for demonstration purposes, I used the microk8s dashboard-proxy command. This uses port forwarding allow access using port 10443. Note that my master node is running on 192.168.1.6, so I would access the dashboard UI at https://192.168.1.6:10443 (Note the https)


Installing Jenkins CI / CD Pipeline
Next we will install Jenkins automation server. Thankfully, the Jenkins website shows us how to install it in Kubernetes.
https://www.jenkins.io/doc/book/installing/kubernetes/
The instructions are very easy to follow, but since I want to add persistence to my cluster, I needed to dig into setting up a persistent volume. I had an old 64GB USB drive laying around, so I used that to set up my NFS (Network File System). I wasn’t sure how to do that from command line, so these tutorials helped me.
https://www.linuxtechi.com/configure-nfs-persistent-volume-kubernetes/
https://phoenixnap.com/kb/ubuntu-nfs-server
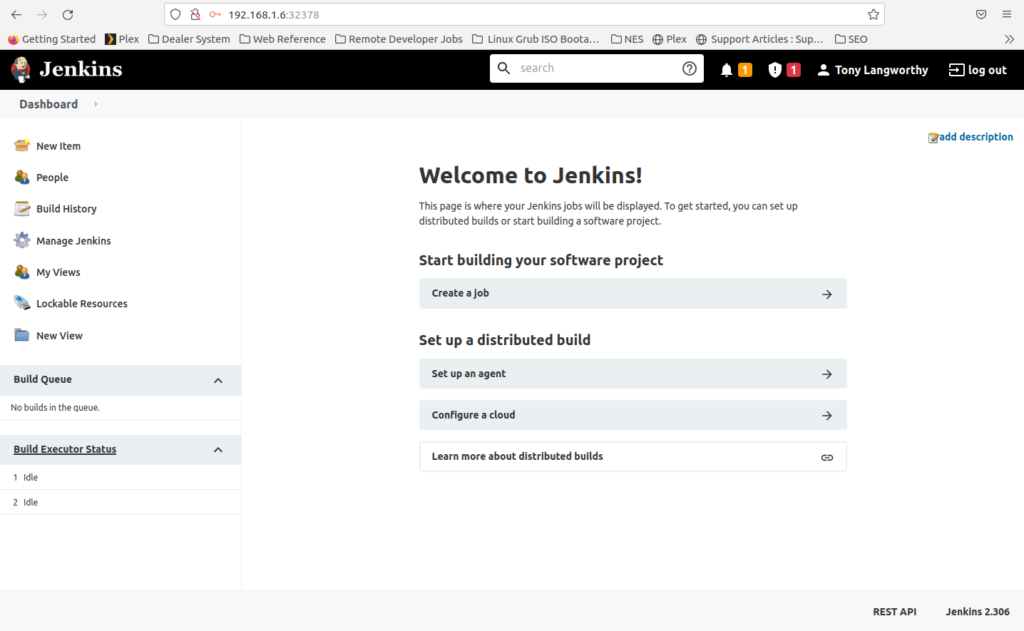
With everything set up, Jenkins dashboard is now running on port 32378.

Wrapping Up
This was a quick tutorial demonstrating Jenkins running on a Kubernetes cluster with a 3 node Raspberry Pi setup. I’d love to hear from you, so drop me a line in the comments section below. Thanks for reading!
